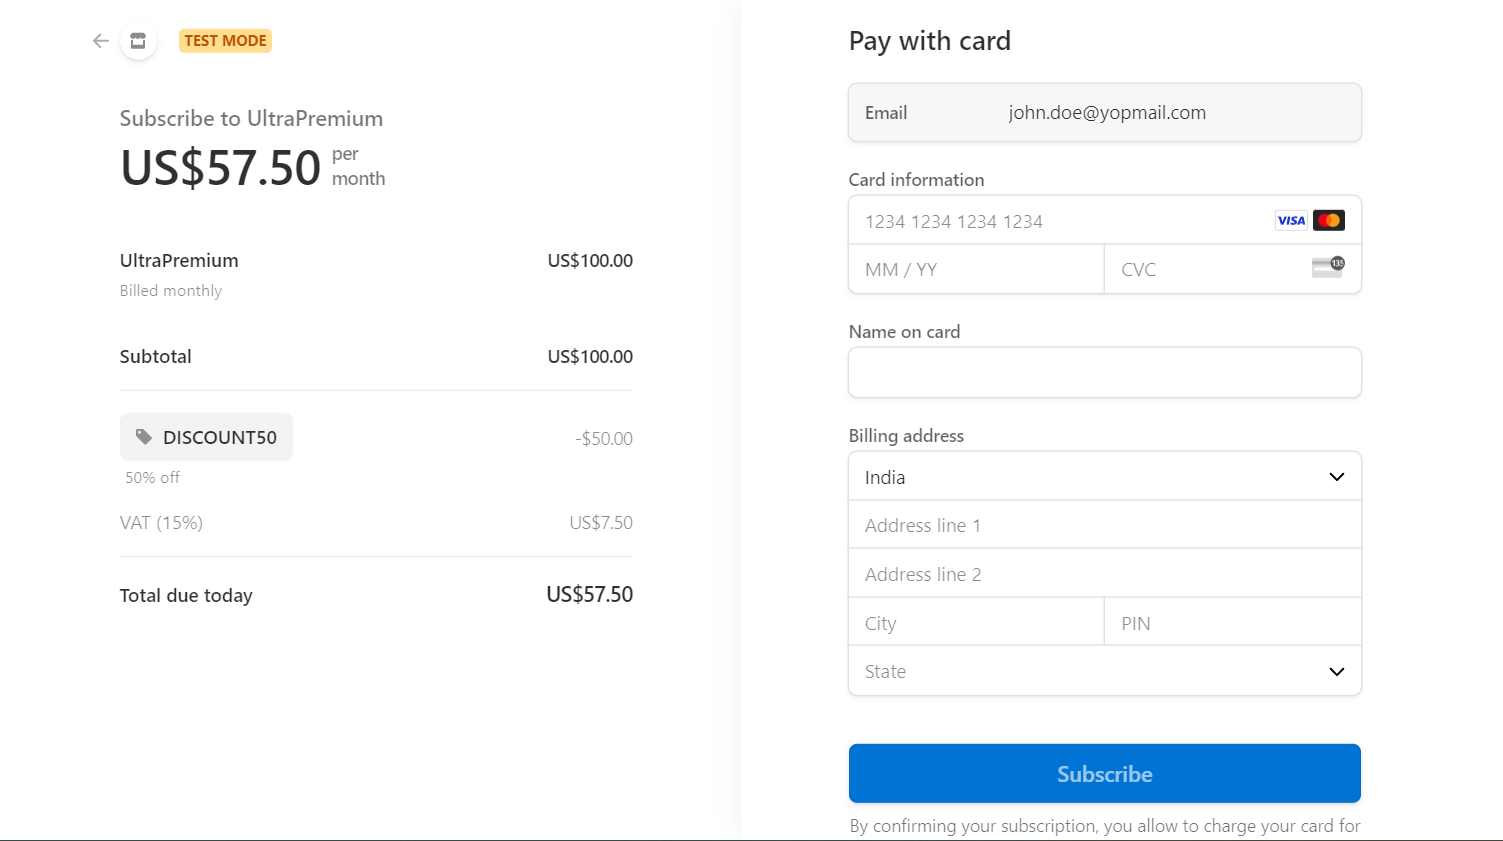
How create Stripe Hosted checkout session in Laravel
Are you looking to integrate a secure and seamless payment processing system into your PHP Laravel application? Stripe's Hosted Checkout is an excellent choice to simplify the payment process and enhance user experience. In this article, we will be discussing the step-by-step process of creating a Stripe Hosted Checkout in your PHP Laravel application.
In this article, we will make an API in Laravel which will generate a stripe hosted checkout session link that user will use to make payment. If you don't know how to integrate stripe payment gateway, you can read it here.
What is Stripe hosted checkout and why should we use :-
In simple terms, Stripe hosted checkout session provides a pre-built payment form provided by stripe where users can fill their payment information and make payment smoothly and securely.
Some the major benefits of using Stripe hosted checkout session are as follows.
- It is very easy and takes less effort for a developer to integrate this with very less coding.
- By using Stripe hosted checkout, businesses do not need to worry about data security and breaching as all security and data being managed by Stripe will all PCI Compliance.
- These payments are contains all payment information that user need to verify during payment as well as these forms are responsive and mobile-friendly.
- As these forms are being generated by Stripe itself, you don't need to worry about update your code frequently with respective to stripe rules and regulations , By implementing this form, Stripe will automatically handles this.
- By using this, there are very rare chances of getting error and users were able to make payment seamlessly.
Here are the steps we will follow to create stripe hosted checkout session.
- Setup your stripe account
- Create a route
- Create checkout session
- Handle success and error
Setup your stripe account :-
Before proceeding forward, make sure you have integrated stripe on your Laravel or PHP application. We already have a detailed article regarding how can you setup your stripe account on your Laravel application. You can check it out here.
Create a route :-
First create a route or API endpoint on your web.php or api.php file. In my case as i'm making an api , i will be creating my route inside api.php.
Route::post('stripe/checkout/createsession',[paymentController::class, 'createCheckoutSession'])->name('create-checkout-session');
Create checkout session :-
Now you can write code for creating checkout session for purchasing subscription on your controller. In this article we are going to purchase a subscription with stripe hosted checkout form. so make sure you have all the required parameters or details needed to purchase subscription.
Here are the example of some of the parameters that are needed to purchasing subscription.
- Customer ID ( if you don't have this ID , you can create it on runtime as shown in below code )
- Price ID ( Required )
- Tax ID ( Optional )
- Promo Code / Coupon ( Optional )
<?php

namespace App\Http\Controllers;

use Illuminate\Http\Request;

class paymentController extends Controller
{
    public function createCheckoutSession(Request $request){
        try{
            $secret_key = config('constants.stripe_keys')['secret_key'];
            $stripe = new \Stripe\StripeClient(
                $secret_key
              );

            // creating customer here..  you dont need to create customer if you already have customer_id in your database

            $customer_id = $stripe->customers->create([
                'email' => $request->email,
            ]);
            $server_url = "http://127.0.0.1:8002/";
            $price_id = "price_1NaL7QSJakTn1zSVPknJLHQ6";
            $tax_id = "txr_1NaL9gSJakTn1zSVjZJS84hl";
            $promo_code = "promo_1NaLBFSJakTn1zSVXcD4Leql";

            // Creating checkout session here
            $checkout_session = $stripe->checkout->sessions->create([
            'line_items' => [[
                'price' => $price_id,
                'quantity' => 1,
                'tax_rates'=> [$tax_id],
                ]],
                'discounts'=>[[
                    'promotion_code'=> $promo_code
                ]
                ],
                'customer'=>$customer_id,
                'mode' => 'subscription',
                'success_url' => $server_url."payment/success?session_id={CHECKOUT_SESSION_ID}",
                'cancel_url' => $server_url."payment/failed"
        ]);
        $session_url = $checkout_session->url; // It will give you session link where user can make payment.
        return response()->json(['response' => ['code' => "200", 'message' => 'Checkout session created susscessfully.','url'=>$session_url]]);
        }catch(\Exception $e){
            return false;
        }
    }
}


